3-D Picture Frame – Part II
April 6th, 2018
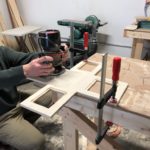
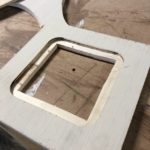
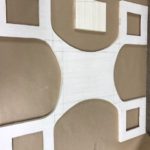
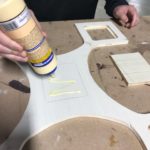
In continuation of our project to create a 3-D picture frame using cabinet grade and RevolutionPly® plywood, all pieces have been cut out and lightly sanded to remove any splinters. The next step is to use the router with a 1/2″ bit to outline each space that will hold a photograph, therefore making the openings flush once the photos and backing are in place. Black paint is then added to trim out each slot for photographs to give the look of additional depth to the frame.
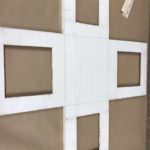
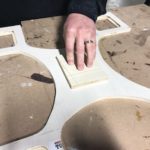
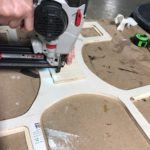
A small square piece of plywood is attached to the backside of the top component of the frame using wood glue and staples. This will provide the 3-D appearance of the frame once both the top and bottom components are attached together. The frame is now ready for paint, and this step should be done before attaching the top and bottom pieces together.
See pictures below of the progress on our cabinet grade and RevolutionPly® plywood 3-D frame.
For more information on Patriot Timber Products RevolutionPly® plywood, please visit www.RevolutionPly.com or for more information on the entire line of Patriot Timber Family of Panel Products, visit www.Patriottimber.com.


Tags: green, patriot primed, revolutionply, Sustainable, US patented material