Patriotic Clip Frame – Part II
July 3rd, 2018
In continuation of our patriotic clip frame project celebrating the Independence Day holiday, the next steps are sanding, applying lettering, attaching twine, and hanging the photos for display.
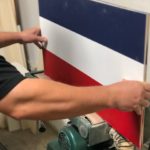
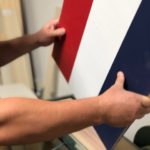
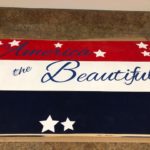
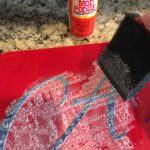
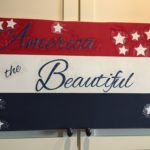
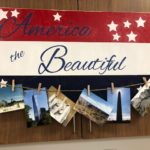
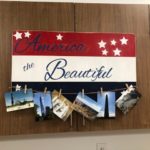
The edges of the painted board are sanded to round the corners and to give it a slightly worn look. Letters and stars are cut out using a Cricut, and are applied to the board with mod podge. Next, the twine is cut to the length of the board and attached to each end using decorative furniture tacks. Miniature clothes pins are perfect for holding photographs on the twine, and make it easy to change them out whenever you want. We chose to use various photographs taken across America that reflect the heart and beauty of our great nation.
See the photos below of the final steps in this project and of our completed patriotic clip frame.
For more information on the entire line of Patriot Timber Family of Panel Products, visit www.Patriottimber.com.
Tags: green, Independence Day, patriot primed, Sustainable
